Ribbed Crochet Baby Hat with Earflaps FREE Pattern ( 0-3 Months)
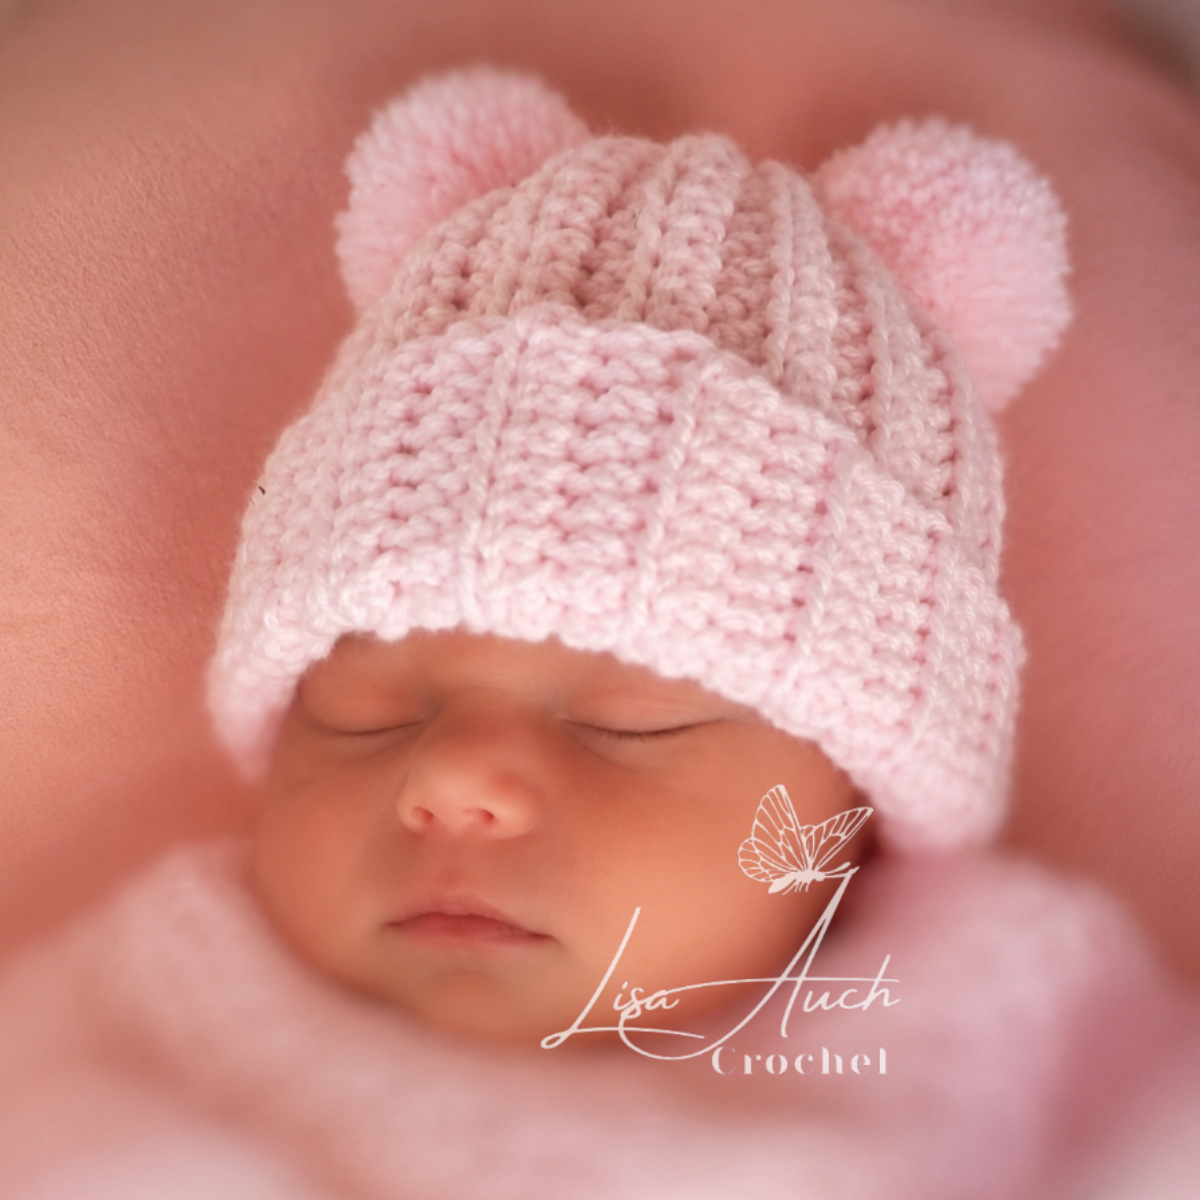
This cosy warm ribbed baby hat crochet pattern with earflaps was made for keeping a hat on a wriggly baby who loves to pull their hats off.
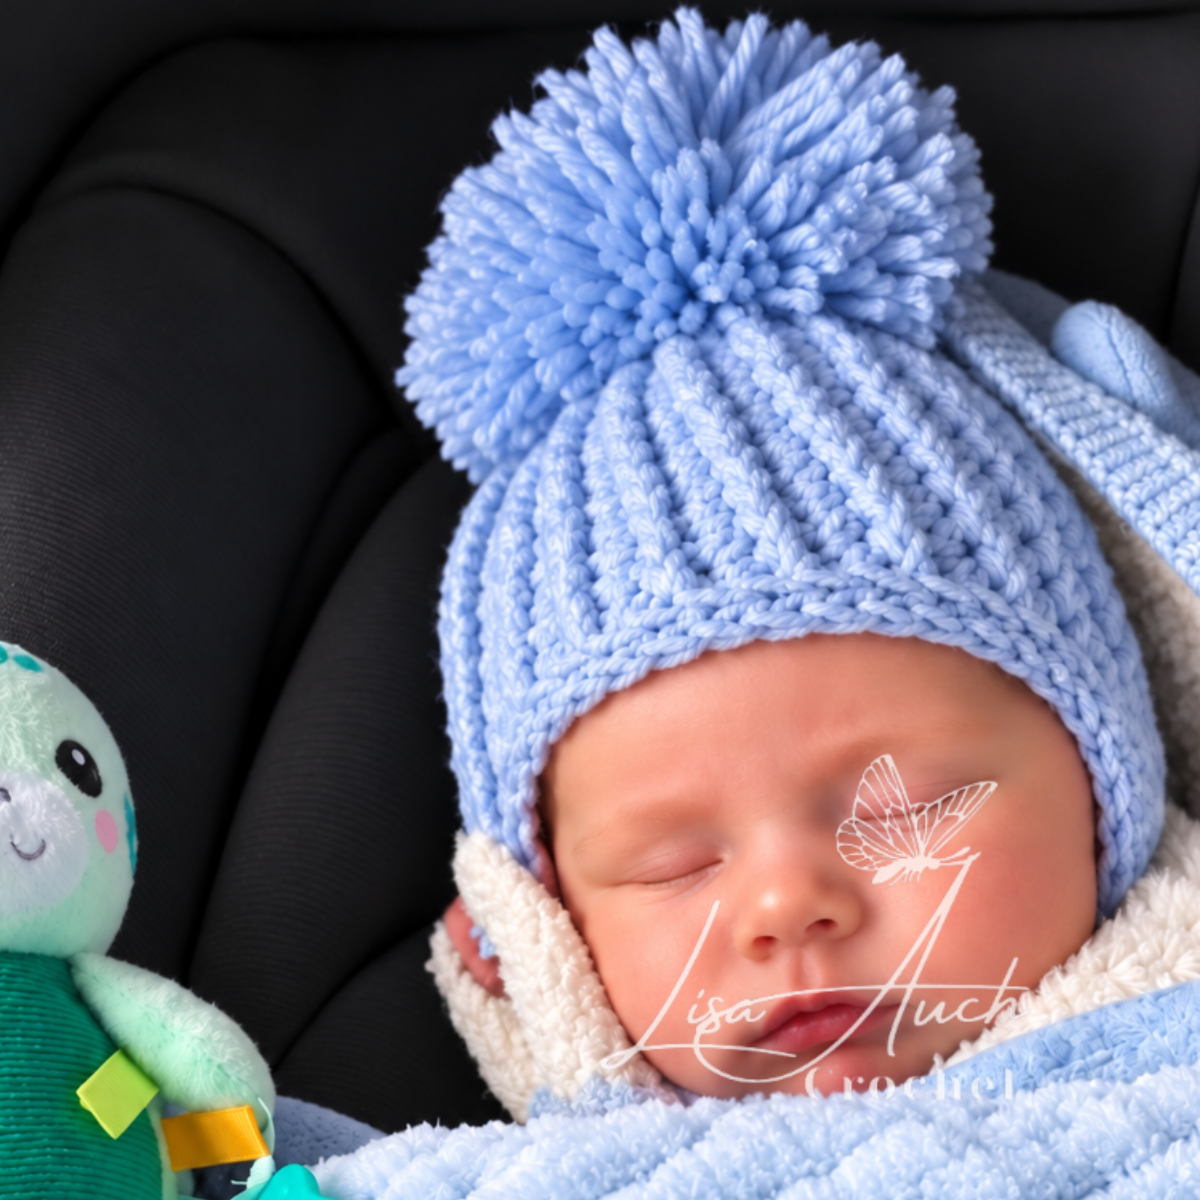
That’s why moms love these ribbed textured crochet baby hat pattern with earflaps 0-3 months sizing, as they are also super stretchy.
With its cozy earflaps and snug fit, it’s an ideal for little ones during chilly weather. This crochet baby hat pattern is quick to create and perfect for crocheters of all skill levels
Disclosure: This post may contain affiliate links. I may earn a small commission at no extra cost to you. All opinions are my own.
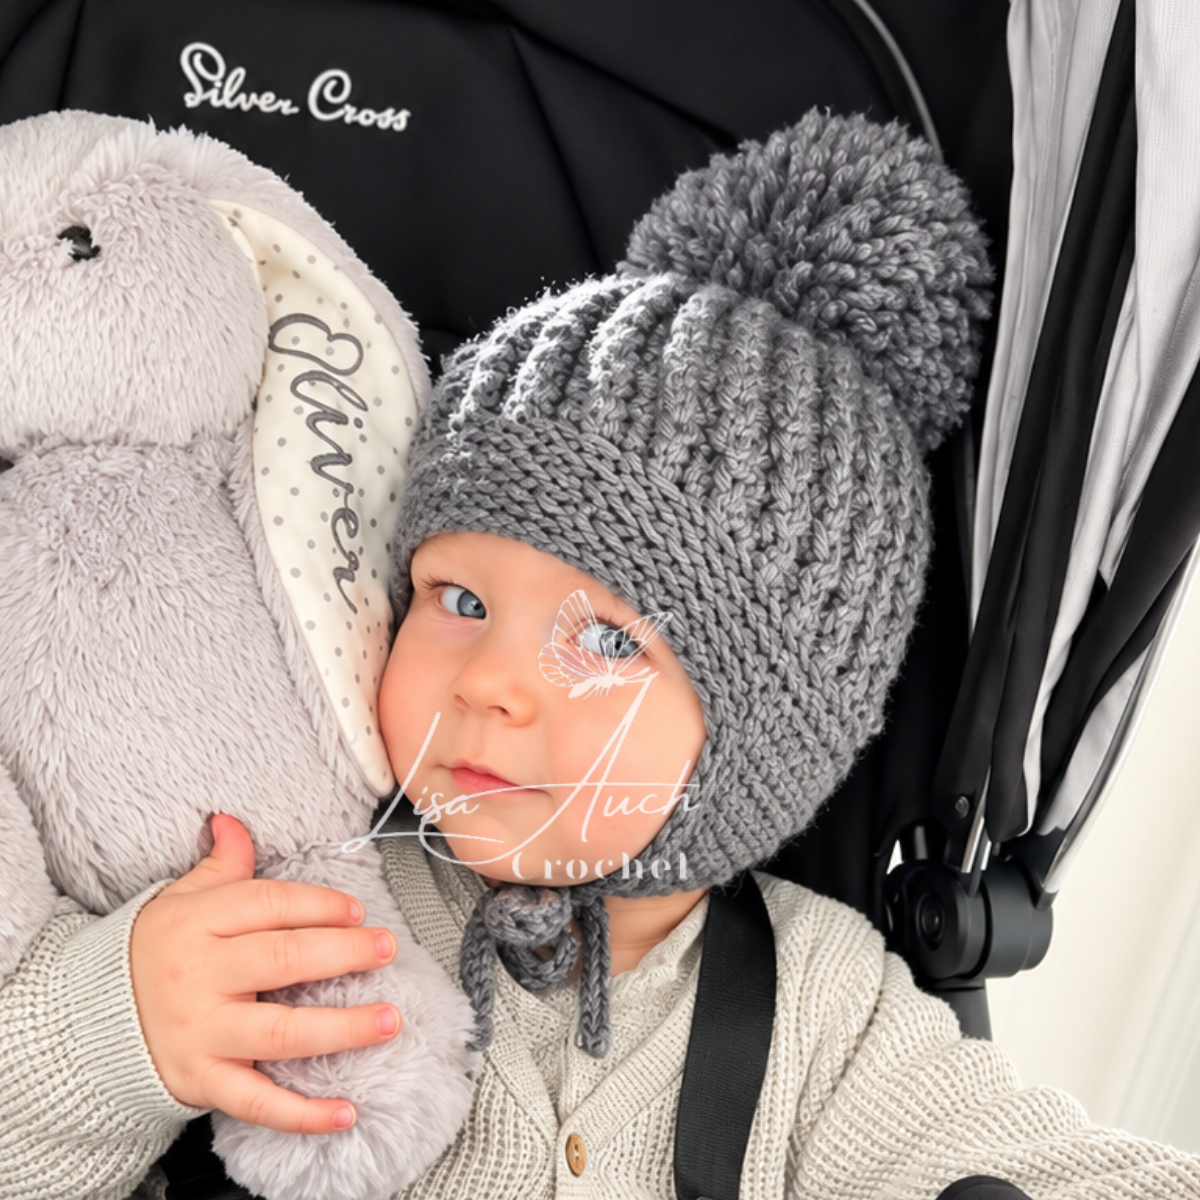
I originally designed this cosy little hat for my grandson Oliver. It soon became one of my most requested patterns, including the free crochet baby hat pattern with earflaps 0-3 months.
Table of contents
The secret to this baby hat is in the lovely stretchy crochet ribbing textured stitches.
It gives the hat a snug, comfortable fit without feeling stiff, while the earflaps help keep those little ears covered on chilly days.
The fabric’s stretch works well with a free crochet baby hat pattern with earflaps 0-3 months, giving growing room.
This free crochet baby hat with earflaps pattern is written in US crochet terms and includes the original 0–3 months size, using two strands of DK yarn held together.
Once you work the textured ribbed stitch, working from the hats crown down, you will add and shape the earflaps and finish everything neatly.
It’s a practical, warm and wonderfully cosy little crochet hat that looks adorable on babies
This crochet baby hat pattern is quick to create and perfect for crocheters of all skill levels.
The baby hat is ribbed by working into the Front posts of previous stitches, so you must know how to crochet around the Front Posts and Back Posts of crochet stitches to make this hat!
Crochet Baby Hat with Earflaps – Pattern at a Glance
- Pattern Name: Oliver’s Original Ribbed Crochet Baby Hat with Earflaps
- Size: 0–3 Months
- Skill Level: Advanced Beginner
- Yarn: Two strands of DK yarn held together
- Crochet Hook: 6.00 mm or 6.50 mm, depending on the required fit
- Crochet Terms: US terminology
- Construction: Worked from the crown down, with the earflaps added afterwards
- Main Stitch: Front Post Half Double Crochet (FPHDC)
- Texture: Thick, cosy and stretchy crochet ribbing
- Finished Style: A fitted baby hat with earflaps and an optional pompom
Why you’ll love this pattern: The stretchy ribbed texture gives the hat a comfortable fit, while the earflaps provide extra coverage for baby’s ears. It’s a lovely practical crochet hat for chilly days and makes a thoughtful handmade baby gift.
If you would like this baby hat with earflaps in bigger sizes then i have all the sizes written out here available on ETSY
IF are looking for a more Easy crochet baby hat Pattern with earflaps then I suggest This Baby hat With EARFLAPS HERE Whether crafting a crochet newborn hat with earflaps for a baby gift or working on a quick crochet project for babies, this free pattern is a go-to choice.
A crochet earflap hat pattern for newborns is not just functional but irresistibly cute, making it a favorite among moms to be.
This baby hat is one of my most requested baby hat to crochet when I’m making custom orders!
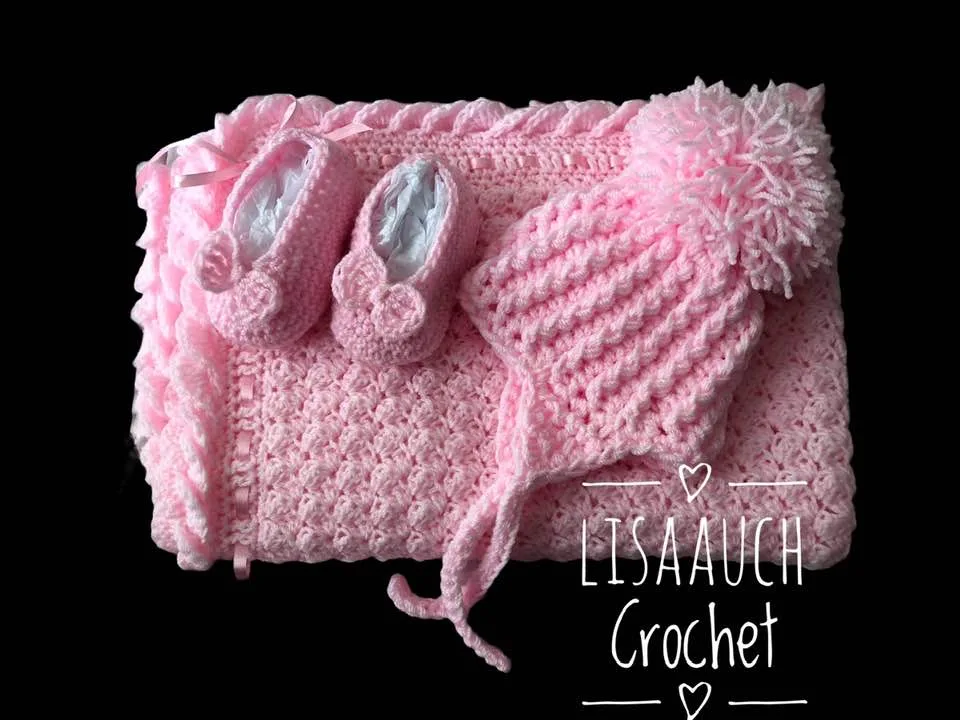
Baby Booties Pattern can be found here
Baby Blanket Pattern can be found here
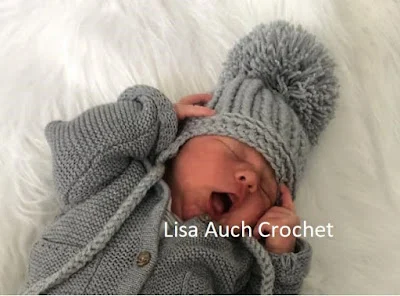
Materials Needed for Oliver’s Crochet Baby Hat with Earflaps
You won’t need many materials to make this lovely cosy baby hat!
- Yarn: Stylecraft Special DK (double knitting/light worsted weight), using 2 strands held together throughout.
- Crochet Hook: 6.50 mm (IF you are making for a larger 0-3 months baby use a 7.00mm hook
- Stitch Marker: Helpful for marking the beginning of rounds and positioning the earflaps.
- Yarn Needle: For weaving in the ends.
- Scissors
- Measuring Tape: Especially important for checking the crown diameter and finished hat length.
A little note about yarn: I use two strands of DK yarn together to make this hat beautifully cosy, with a lovely thick ribbed texture. You can substitute another suitable yarn, but always check your gauge and finished measurements, as different yarns can affect the fit.
My crochet tension: I naturally crochet quite loosely. If you’re a tighter crocheter, you may need to go up a hook size to achieve the measurements given in the pattern.
You can BUY THIS YARN HERE or substitute YARN Stylecraft Special DK)
Crochet Baby Hat with Earflaps – Size and Finished Measurements
This free crochet baby hat pattern is written for babies aged approximately 0–3 months.
Because the ribbed crochet stitches create a stretchy fabric, the hat has some flexibility in its fit. However, babies grow at different rates, so I always recommend checking the actual measurements rather than relying on age alone.
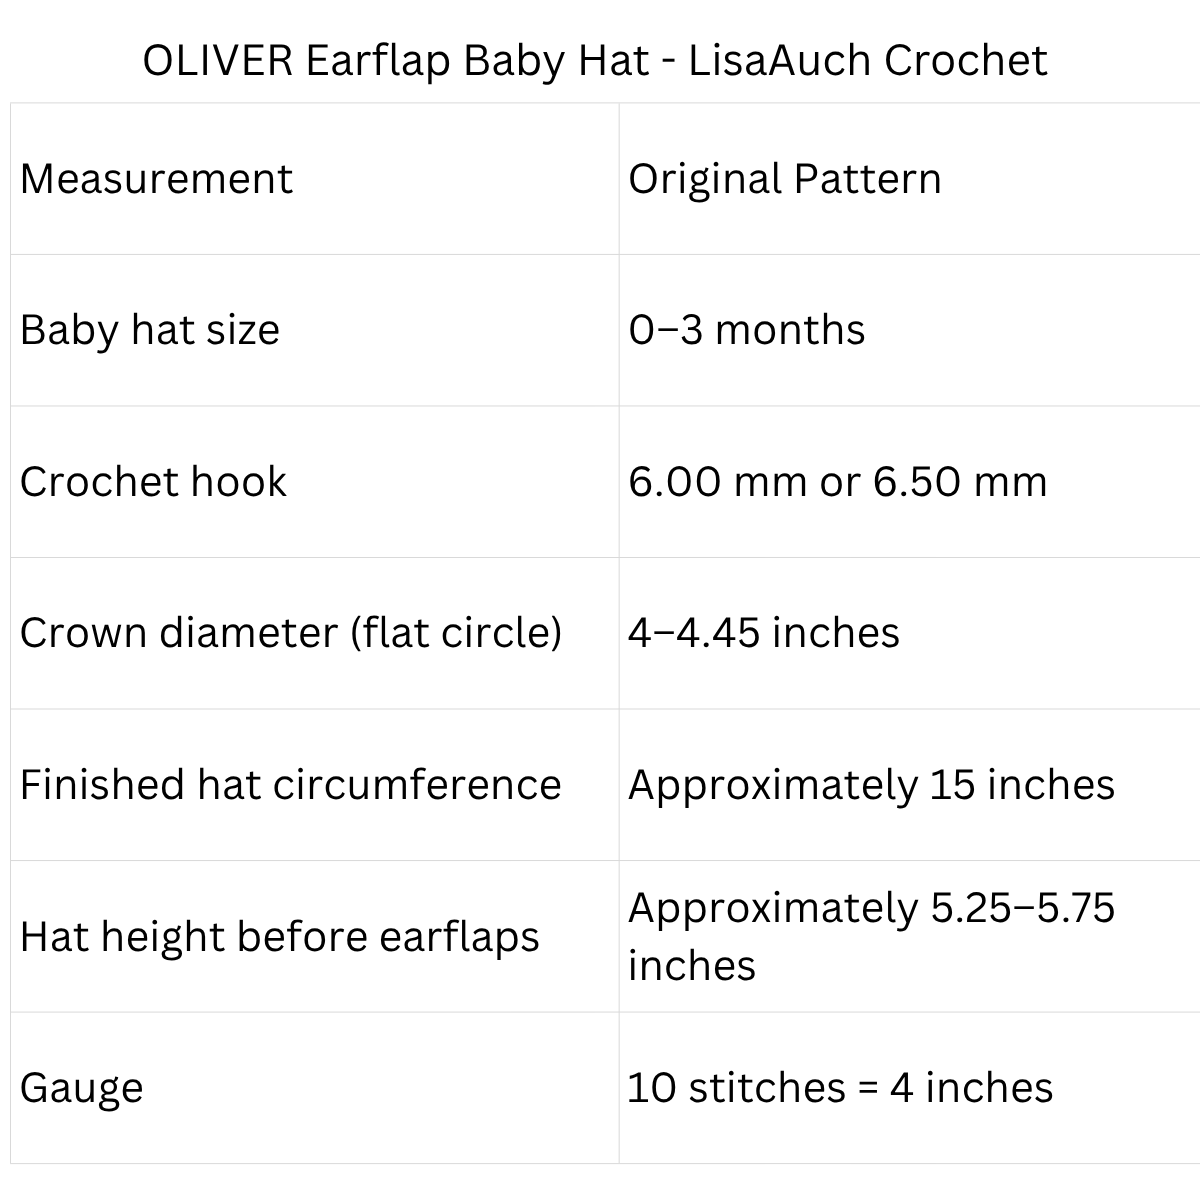
Which Crochet Hook Size Should I Use?
6.50 mm Hook: check crown diameter to ensure you have the right size 4.25 inches across
How to Measure Your Crochet Baby Hat
- Lay your crochet hat circle flat and measure across the circular crown before you start working down the sides.
- Once you’ve completed the main body of the hat, measure from the very top of the crown to the bottom edge, before adding the earflaps.
My tip: Don’t worry if your tension differs slightly from mine. What’s important is achieving the correct finished measurements so the hat fits comfortably.
- Instead of working every stitch into the top of the stitch below, we use a combination of regular half double crochet (hdc) and front post half double crochet (FPHDC).
- The front post stitches create the raised ridges running from the crown down towards the brim of the hat.
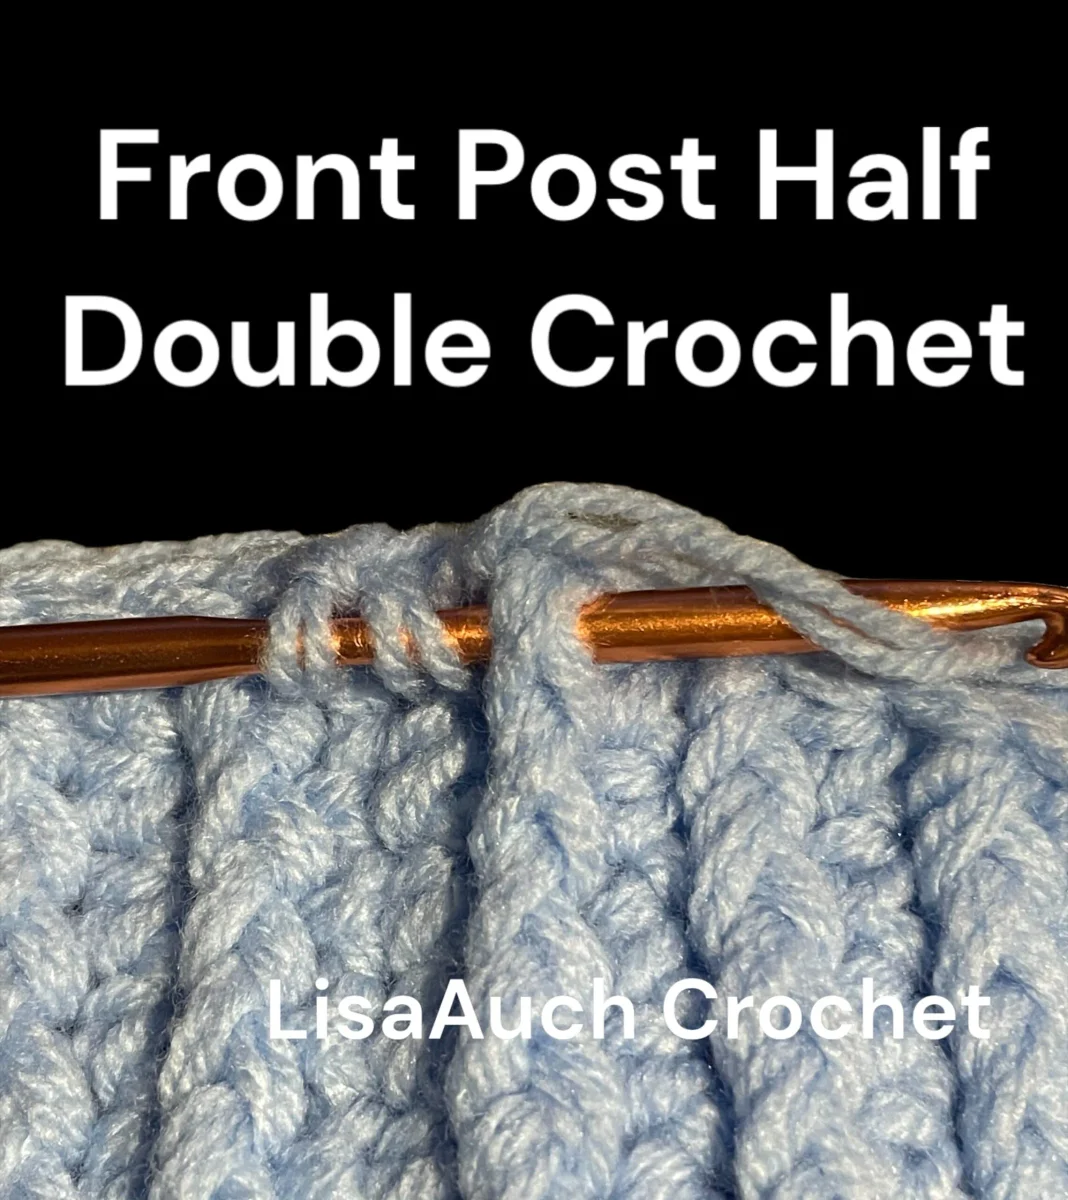
How to Work a Front Post Half Double Crochet (FPHDC)
- Yarn over your hook.
- Insert your hook from front to back, then back to front around the post of the stitch in the previous round.
- Yarn over and pull up a loop to the height of the previous stitch. You should now have 3 loops on your hook.
- Yarn over and pull through all 3 loops to complete the stitch.
As you continue working the front post stitches above the previous round’s front post stitches, the raised ribbed texture becomes more pronounced.
Crochet Tip: Make sure you’re working around the actual post of the stitch rather than into the top loops. This is what creates those lovely raised ribs!
Don’t worry if the texture isn’t immediately obvious in the first round. Once you’ve worked a few rounds, you’ll really start to see the ribbing develop.
Crochet Abbreviations (US Terms)
| Abbreviation | Meaning |
|---|---|
| ch | Chain |
| sc | Single crochet |
| hdc | Half double crochet |
| FPHDC | Front post half double crochet |
| BLO | Back loop only |
| sl st | Slip stitch |
| st / sts | Stitch / stitches |
| rnd | Round |
| rep | Repeat |
Important Note About Beginning Chains
Crown Increasing Rounds: The beginning chain does not count as a stitch. Do not include it in your stitch count.
Textured Ribbing Rounds: Ch 2 at the beginning of each round. This Ch 2 counts as your first hdc stitch. Work the remaining stitches as instructed and join with a slip stitch into the top of the beginning Ch 2.
Remember: When you move from the crown increases to the ribbed section, the beginning chain changes from not counting to counting as a stitch. This keeps the stitch count consistent and helps the raised ribs line up correctly.
Abbreviations (Written in US terms)
Ch – chain
HDC – Half Double Crochet
Sc – single crochet
FPHDC – working Half double crochet around the FRONT of the post of the previous round
Special instructions:
Crochet Baby Hat With Earflaps PATTERN STARTS HERE
Note: Beginning ch 2 does not count as a stitch in the crown increasing rounds only.
- Rnd 1: ch3, work 12, into the first chain from hook. pull tight, join to top ch of ch 2. (12)
- Rnd 2: Ch 2, 2Hdc in each st around. slst to Join to top ch of ch 2. (24)
- Rnd 3: Ch2, *2hdc, hdc in the next st repeat around, slst to Join to top ch of ch2, (36sts)
Textured Ribbed Hat Pattern
- Rnd 4: Ch 2 (counts as first hdc), FPHDC around next st, *hdc in next st, FPHDC around next st; rep from * around, sl st to top of beg ch 2 to join. (36 sts)
- Rnd 5: Ch 2 (counts as first hdc), FPHDC around next FPHDC, *hdc in next hdc, FPHDC around next FPHDC; rep from * around, sl st to top of beg ch 2 to join. (36 sts)
- Rounds 6–13: Rep Rnd 5. (36 sts)
- Rnd 14: Work 1 Round in Backloop single crochet around
Finished Hat Length (before earflaps): Approximately 5.75 inches, depending on hook size and tension.
Do not fasten off. Move onto adding the earflaps
HOW to Crochet the Earflaps for the Baby Hat
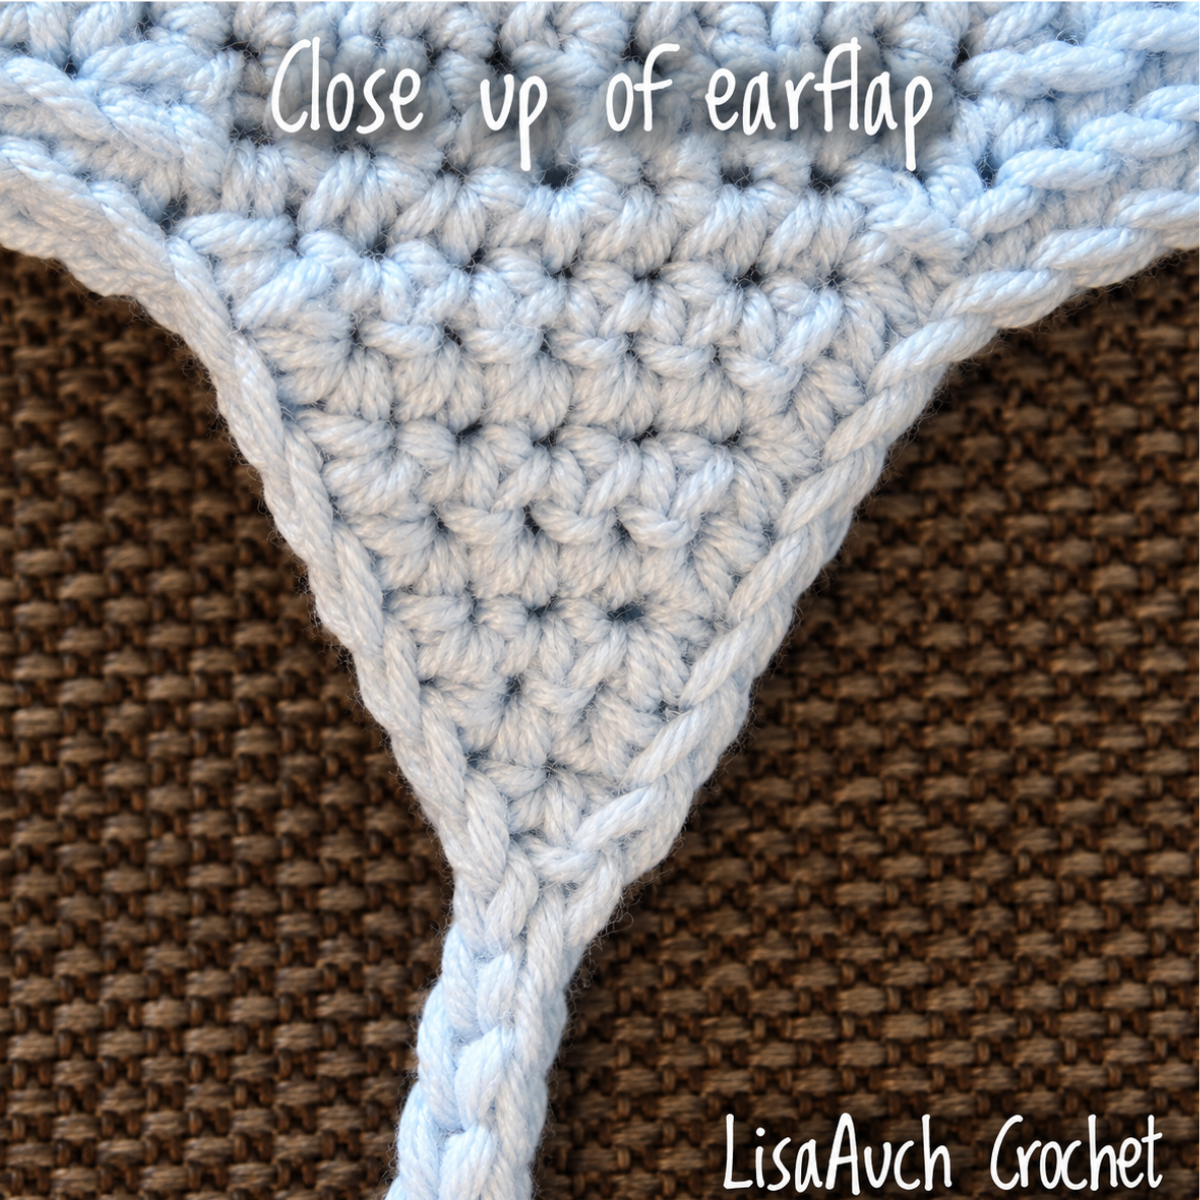
Continue working to build the first earflap
Row1:ch1,1sc in same st as ch1, 1sc in next 7 sts, turn. (7)
Row2: ch1,skip first st, 1sc in next 6sts, turn
Row3: ch1, skip first st, 1sc in next 5sts, turn
Row4: ch1, skip first st, 1sc in next 4sts, turn
Row5: ch1, skip first st, 1sc in next 3sts, turn
Row6: ch1, skip first st, 1sc in next 2sts, turn
Row7: ch1, skip first st, 1sc in next st, Fasten off.
2nd Earflap
With the back of the hat facing you count 14 sts away from the first st of the earflap, (FRONT IS these 14 sts)
Rejoin yarn IN the 15 th st and rep as for the first earflap.
Do Not Fasten off
Finishing Border. And adding the Crochet Braids to the earflaps
- you will chain a length for the ties, slip stitching back up the chain to the earflap
- Make sure you are working with the Right Side towards you, and continue working sc up and down into the sides of the earflaps.
- Back loops single crochet along the front and back stitches until you reach the LAST stitch of the earflap
BORDER: STARTING AT THE BOTTOM OF EARFLAP JUST FINISHED Make SC in LAST bottom stitch of earflap. chain 25, slip stitch back up the chain just made, and Sc back into the last stitch of earflap, continue working into BACK LOOP SC to next earflap and repeat from * to * Bl sc to first st to join
Fasten off and weave in all ends
Create a Pom pom and tie it securely.
this is my GO-TO favorite way to make a thick fluffy pom out of Yarn
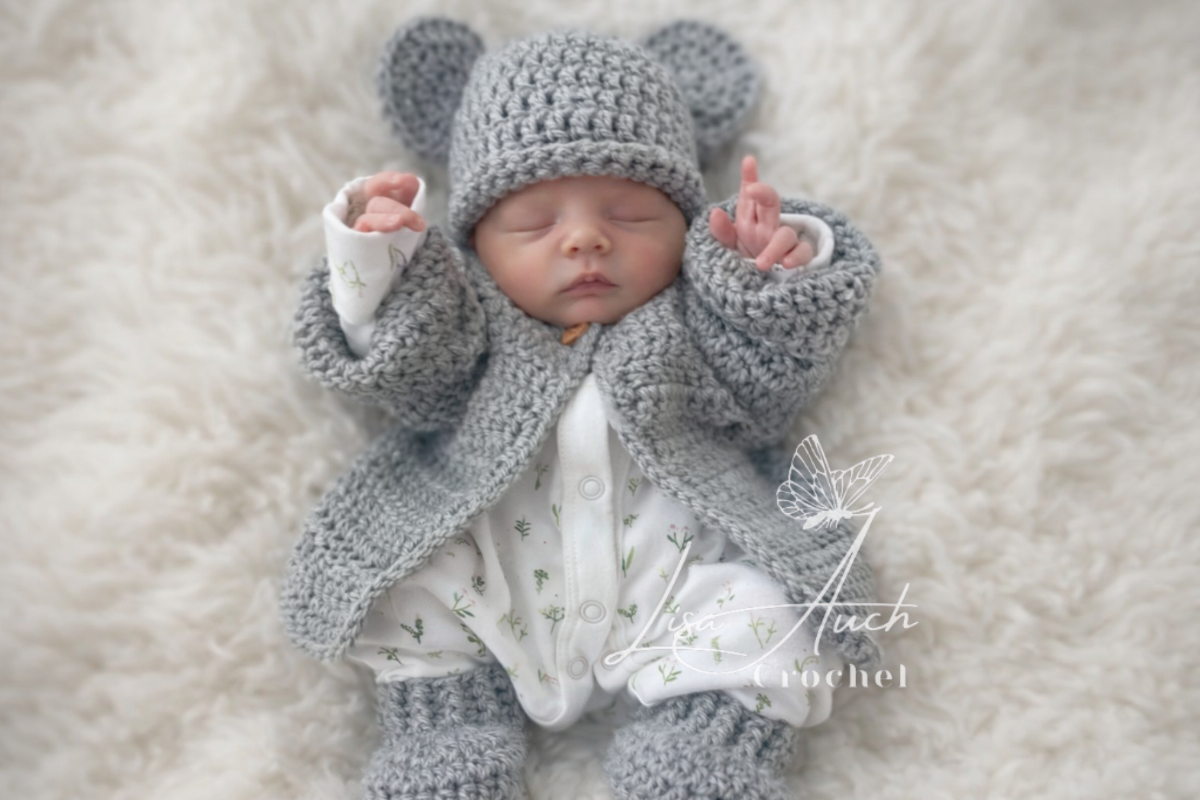
After my grandson was born there was a flurry of new babies SO I had a great time designing even more crochet baby hat patterns, in all different colors and styles.


You may make and sell finished items made from this pattern. Please credit LisaAuchCrochet as the original designer.
You may not copy, rewrite, reproduce, redistribute, republish, or upload this pattern, in whole or in part, in any format, including as text, PDF, AI-generated or AI-rewritten content, within an app, or as a video tutorial.
You may not use Reader Mode, Print View, Save as PDF, screenshots, content-extraction tools, or any other method to bypass or remove advertising from this website and then upload, import, reproduce, or make the pattern available through another app, website, platform, or service.
All LisaAuch Crochet photographs and images are copyrighted. You may not copy, download, crop, edit, alter, republish, or use these images except as expressly permitted by the LisaAuch Crochet Pattern Use & Copyright Policy.
Factory production and mass manufacturing of items made from this pattern are not permitted.
For full details, please see:
Happy Crocheting! © All Rights Reserved LisaAuchCrochet